Elm St. Kitchen
Camden, New Jersey
Rockin Galaxy Nursery
Mt. Holly, New Jersey
Butterflies in Color
Sicklerville, New Jersey
On the BLog
Harris Gard Interiors is a South Jersey based interior design firm designing new home builds, renovations throughout East Pennsylvania, The Jersey SHore, Cape May, and it's Surrounding Areas.
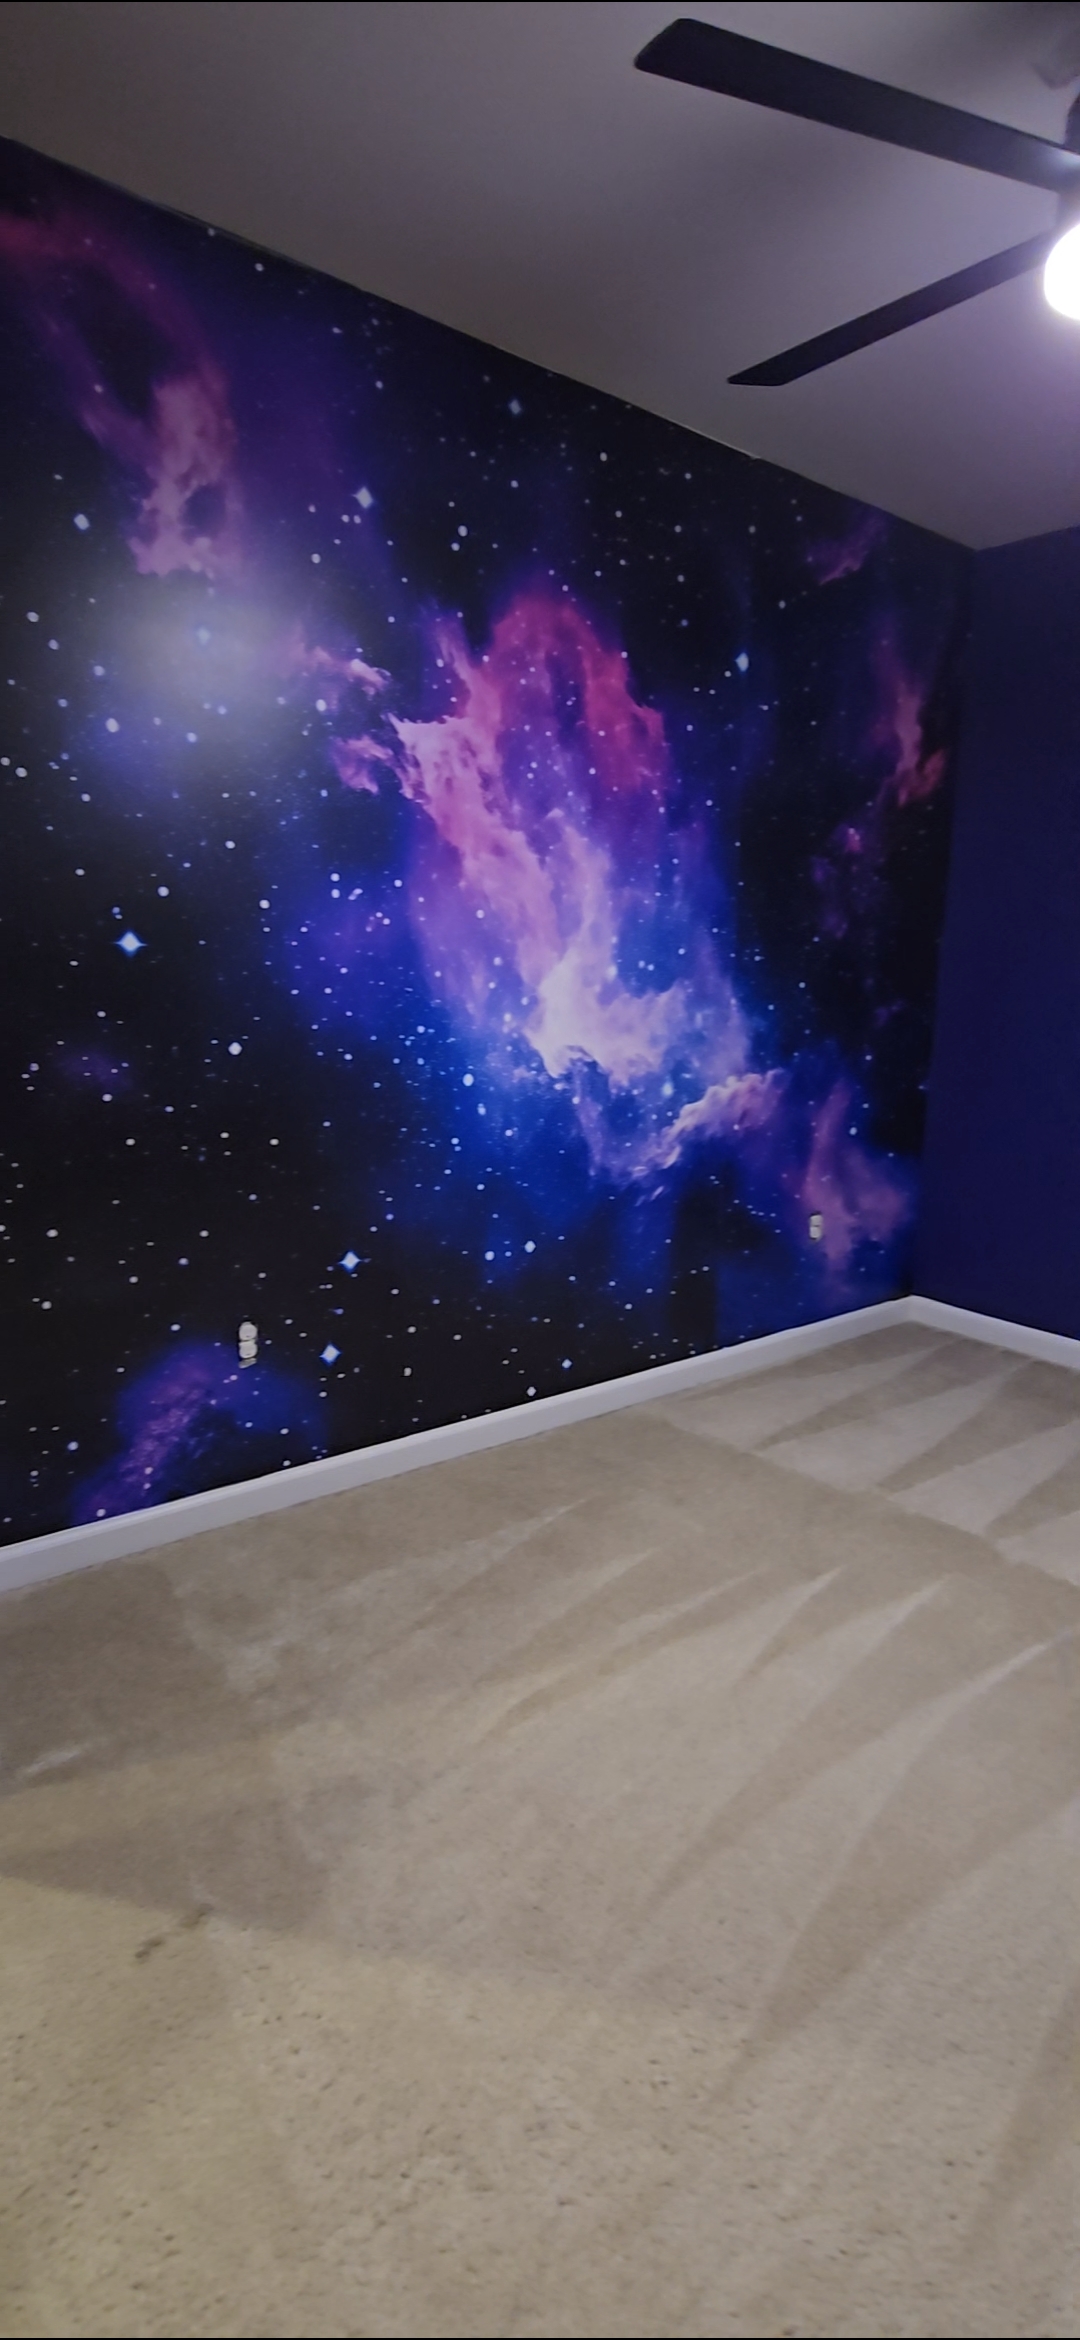
One Room Challenge Week 3: DIY Celestial Mural Installation Lessons Learned
Hey friends! Week three of the One Room Challenge is here, and guess what finally arrived? Follow along as I tackle my first DIY celestial mural installation, share design lessons learned, and prove that beautiful spaces take patience, flexibility, and a little problem-solving.
I was beyond excited to dive into this DIY project—but I’ll be honest, this was my first-ever mural installation. I wanted everything to turn out perfectly, so I did my homework: watched tons of how-to videos, chatted with fellow designers for their best tips, and convinced myself it couldn’t be that hard. Two hours tops, right? Let’s just say… this project was one I’ll never forget!
Before getting started, I learned that this mural wasn’t like your typical vinyl wallpaper. It was much more delicate and needed two people to handle the large panels. We laid everything out on the floor first to plan the layout and placement. So far, so good—until we realized the wall wasn’t perfectly straight. (Pro tip: not all walls are created equally!)
As we began applying the adhesive, things took a turn. The wall had a slight curve where it met the adjoining wall, so we had to overlap just about half an inch of the mural for a seamless fit. Then, the real chaos began—while smoothing out the mural, the adhesive started to pull the paint right off the wall! 😳
At that moment, it became less about decorating and more about problem-solving. I took a deep breath, paused, and carefully lifted the mural without tearing it. Sometimes, wallcoverings aren’t quite as durable as advertised, and that’s when patience really pays off.
The truth is, beautiful spaces take time, patience, and flexibility. What you see in the final reveal is only part of the story—the behind-the-scenes moments are where the real learning happens.